

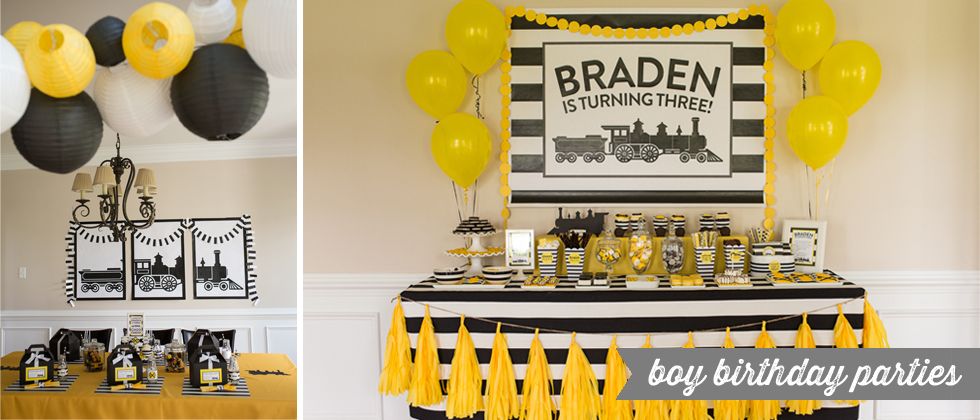
Choo choo! Who doesn't love a train party? This was the perfect theme for my two year old who is beyond obsessed with trains. There are more pictures and details on Hostess with the Mostess if you are interested in specific details!
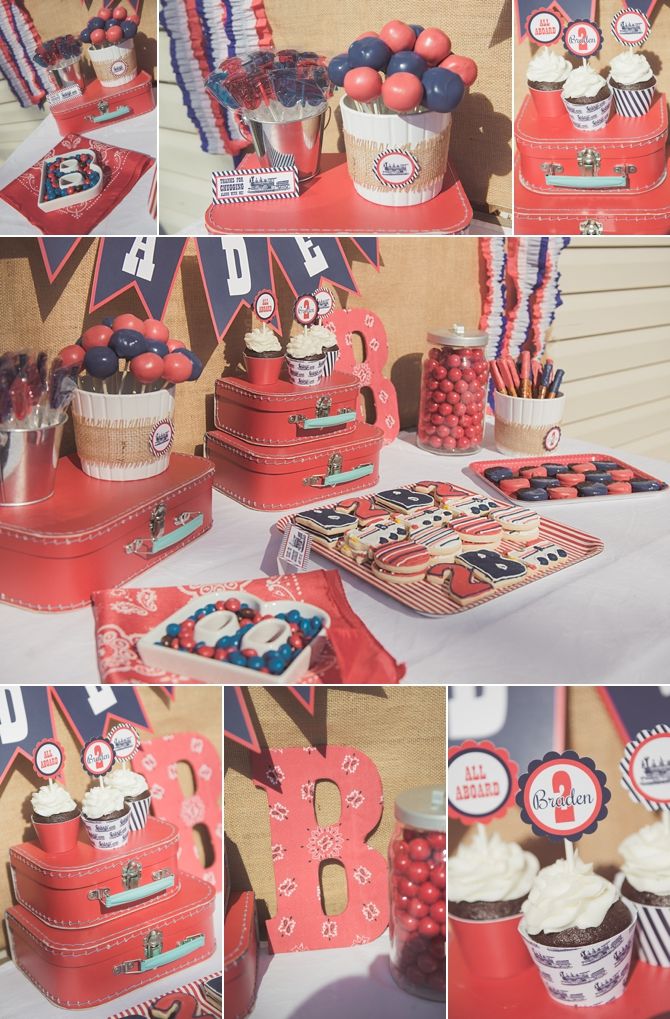
It was a fairly low key party--held in our backyard with a few sweets and friends. I'm a little smitten with burlap... I seem to think it goes with everything. I tried my hand at sewing crepe paper... and think I may leave it to the professionals next time! I pined after the red paper suitcases for weeks until I finally caved and bought them. I just love them. It was fun to incorporate red bandannas throughout the party--wrapped around a B, as a little satchel for party favors and as a bunting behind the kids' table.
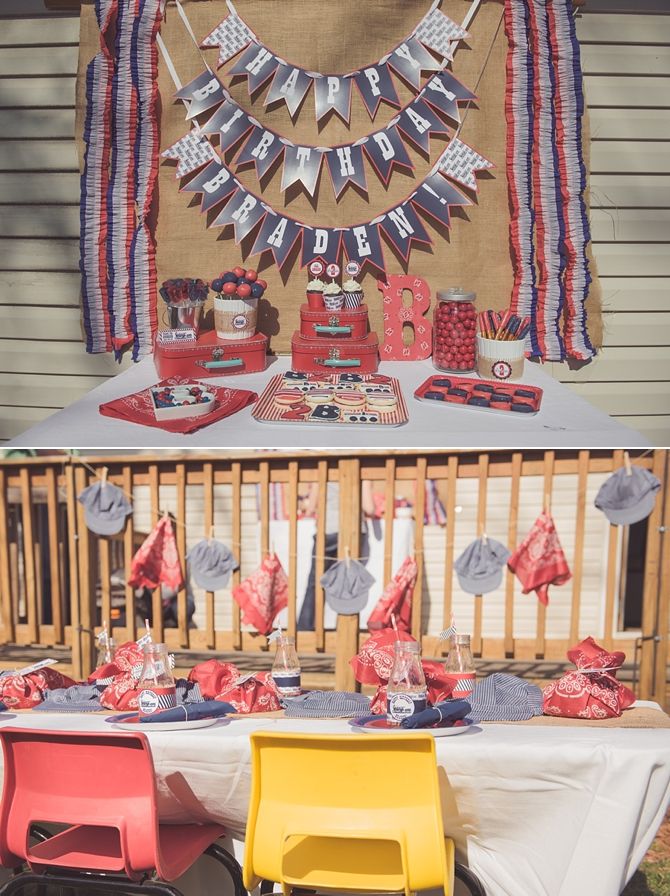
The party was a lot lower key some of our parties--which was a lot of fun. Train lollipops, cupcakes, Vic's famous sugar cookies, cake pops and chocolate dipped pretzels and oreos--nothing too fancy. But everything was delicious. I can not say enough great things about Miss Lulu's Sweet Treats--everything she makes is delicious! I stretched myself and used a lot of our printables in creative ways--extra cupcake toppers got glued to burlap ribbon and the treat bag toppers served as a little sign for the favors.
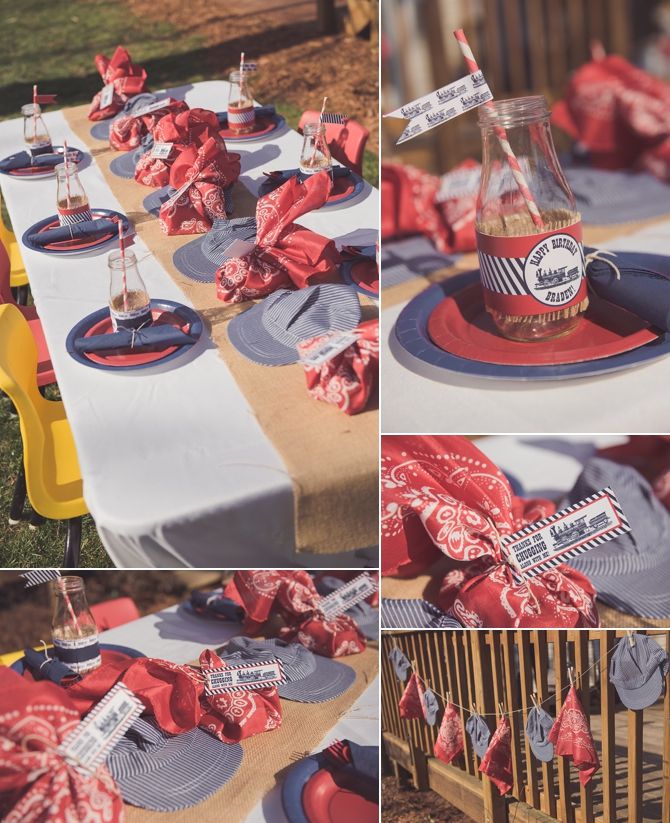
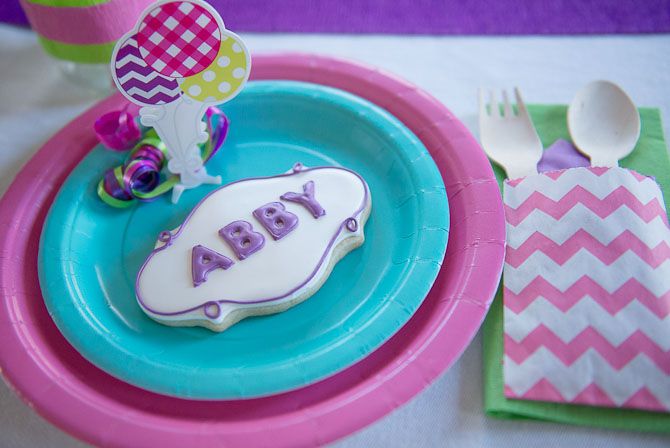
It's easy to set a super cute table with items you can get at any party store. Plates, napkins and flatware in matching colors can be easily coordinated in place settings. I wrapped the flatware and tied it with some twine. The glass Frappucino bottles get used at every single party--treat yourself to a few and save the bottles! My favorite part of the table was the table runner--the party favors were a last minute addition to the table and really brought it all together. All the kiddos got a little bandanna full of train goodies and an engineer hat! I used the extra bandannas and hats as a bunting behind the table--another last minute idea that I loved.
Credits...
– Printables, Costumes, Sugar Cookies and Party Styling: RV Parties
– Photography and Cupcakes: Peanut Butter and Jenny Photography
– Burlap Ribbon: We Can Package
– Cake Pops, Oreos and Pretzels: Miss Lulu’s Sweet Treats
– Train Lollipops: Candied Cakes
Archive for 2013
Vintage Train Party
Barnyard Playdate!
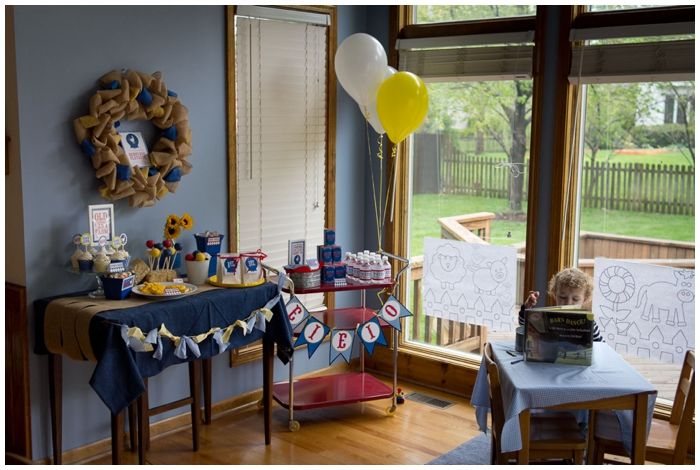
In May, we hosted a barnyard playdate to celebrate our favorite local
Kansas City kids' location, the Deanna Rose Children's Farmstead. Spring
has been playing tricks on us, so even though it was very cold a few
families ventured out to explore the petting zoo before gathering
indoors for snacks, a dessert spread, a story and lots of playtime!
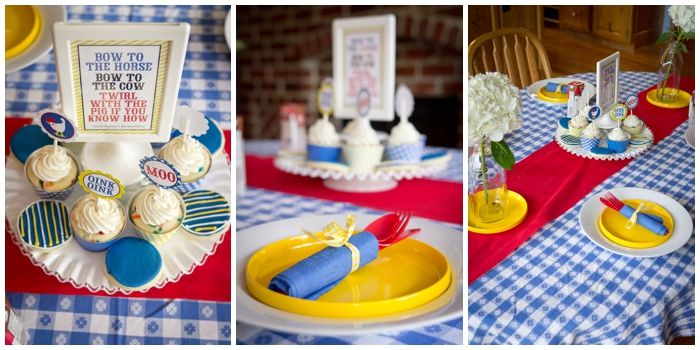
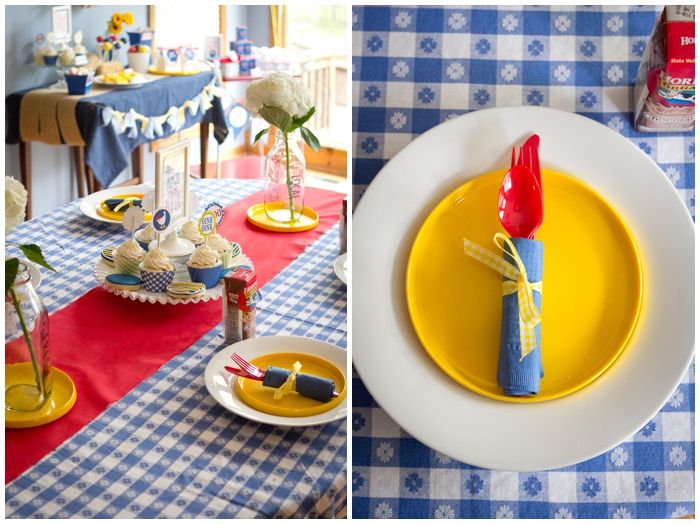
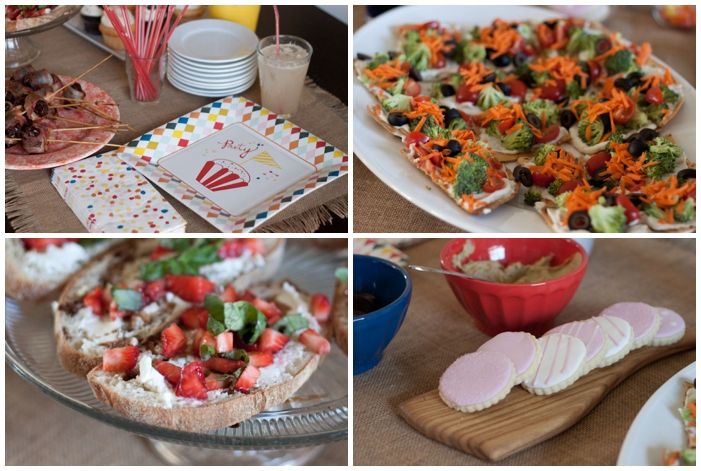
You can read all about the party over on Pizzazzerie - and see even more photos of all the details! We're pretty much in love with the classic primary colors in baked goods, snacks and decorations.
All of the dessert goodness was gathered on a table covered with denim
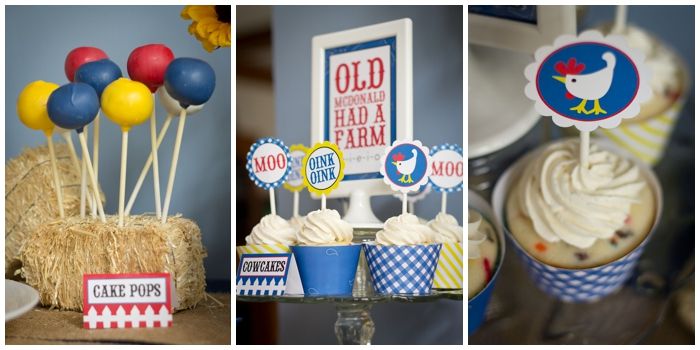
and burlap - so very country! Little hay bales held the very best cake
pops donated by Miss Lulu's Sweet Treats. Cupcakes from Boxer Lady
Bakery, chick cookies made by RV Parties, and farm candies (gummy eggs
and cow tails) rounded out the sweets. There were also kid size bags of
fresh popcorn - easy for little hands to grab and enjoy!
Pretty much every big city has a farm like ours where you can visit and learn about animals and feed baby goats. And if you live in a little city, then you can probably visit a real farm!
We have all the files available for you - even the coloring wall - in the shop!
Vendors
Mini Paper Bags: Hobby Lobby


Five Things You Should Do Before Every Party.

You may already know all of these things. But they are on our mental checklist for every single party we have.
- Buy ice. You will always need ice.
- Lay all the serving plates out earlier in the day or the night before so you can plan where everything goes and be sure it's clean and ready.
- Put a new trash bag in the trash can and have another one nearby. If guests go to throw something away and there's no room in the trash can, party fail. You'll have more clean-up later! And while you're putting out that extra trash bag, put an extra roll of toilet paper in a super accessible place.
- Try to get as close to as an empty dishwasher as possible. This can take a little more planning, but it speeds up clean-up on the other side. And you'll be thankful.
- Get your camera out. A party without pictures isn't really a party!
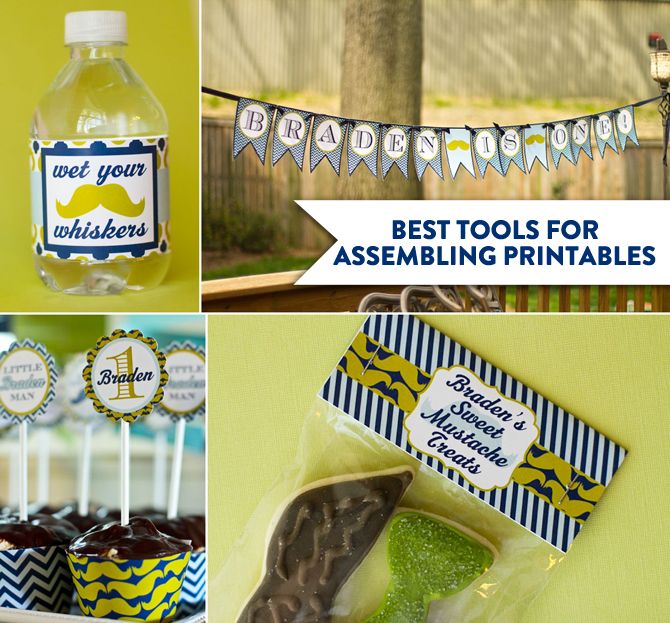
Best Tools for Assembling Party Printables
We're often asked to print and assemble decorations for parties--and for those of you willing to spend a little more time to save a little money, we've assembled a list of our favorite tools for getting all your printables ready for your party. (You can click on all the images to be taken to their Amazon page.)
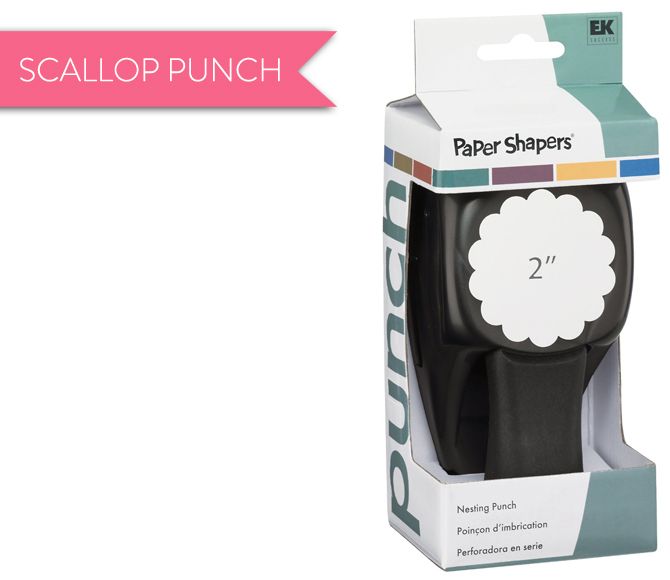
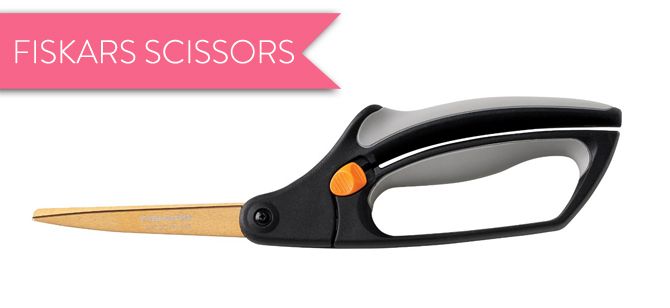
First up--the scallop punch. This is the quickest and easiest way to make your cupcake toppers look professional! You can also cut cupcake toppers out by hand as a circle, but they just look so cut as scallops!
Second... the paper trimmer. We literally use this for everything. Invitations, water bottle wrappers, treat bag toppers, banners... anything with a straight edge gets cut with this! It will save you lots of time and hopefully some of your sanity. There's a bunch of paper trimmers out there, but I like this one because it has a wire guide to help you get as close as possible to where you want to cut.

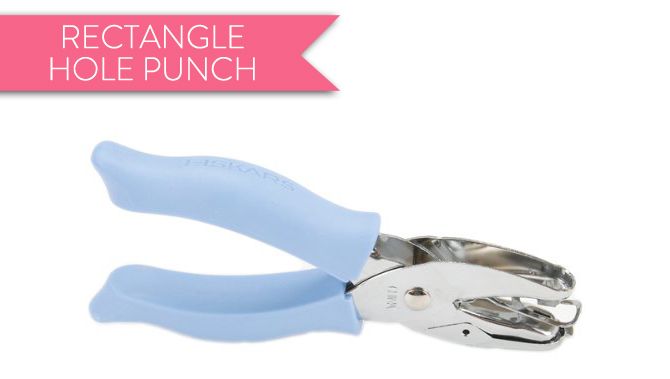
Third... the hole punch. This is the easiest way to punch the corners of your banner to string it on twine or ribbon. You can use a circle one of any size--but this is our favorite!
Printing and Assembly Tips
First off, here's a list of some of the items we love to make assembly a bit easier!
We're working on this post--please email us if you have questions in the meantime! rvparties @ gmail dot com
How to Make a Banner
Using a Bone Folder to Help Fold (Food Labels, Treat Bags)
How to Line an Envelope
How to Make a Paper Medallion
Invites
Cupcake Toppers
Cupcake Wrappers
Water Bottle Wrappers
Treat Bag Toppers
Coloring Wall
TUTORIAL: How to Make a Paper Medallion
I just LOVE the way medallions look--behind cupcake toppers, on garlands... pretty much everywhere. My photography partner in crime, Jenn, always harasses me to do tutorials of how to make things, so she snapped photos as I made this awesome cupcake backer.
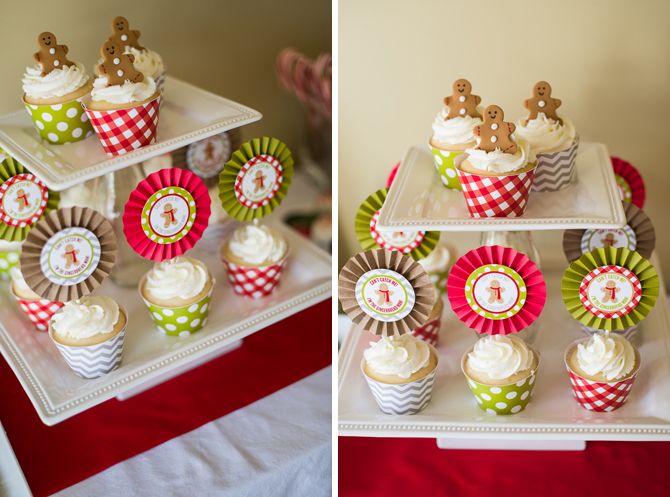
So pretty, right? I mean, I know I'm biased but I really love the Gingerbread Party. So here's a picture tutorial of how to make a paper medallion, with directions below. All you really need is paper, but a scorer certainly makes things quicker!


Interested in making wall sized medallions? You'll need four strips of paper that are 12" by 6", with 1" folds. Enjoy!

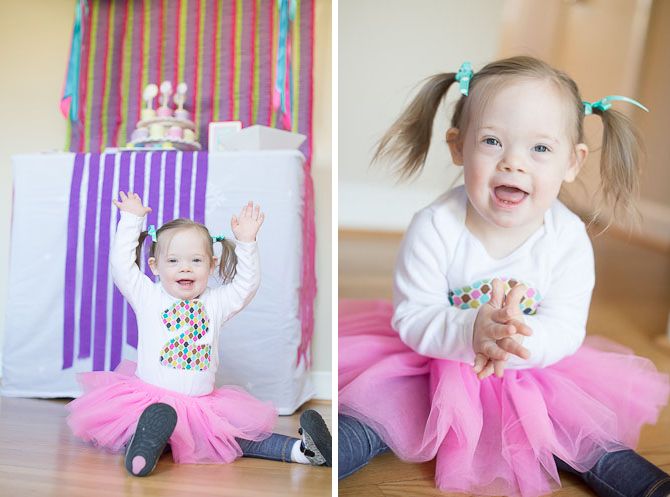
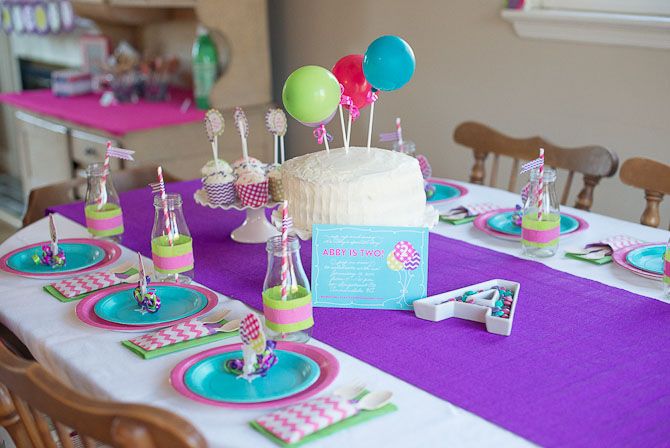
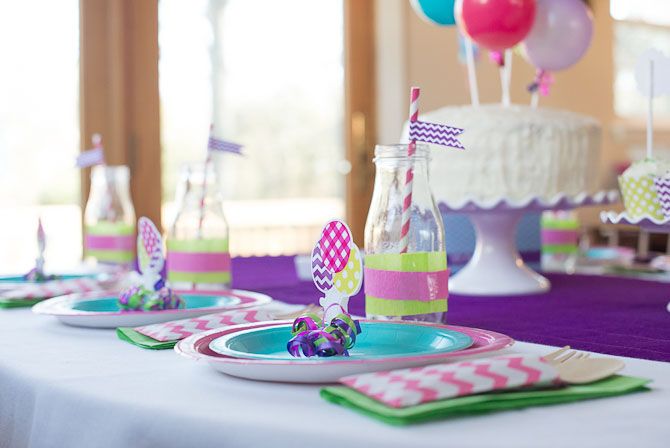
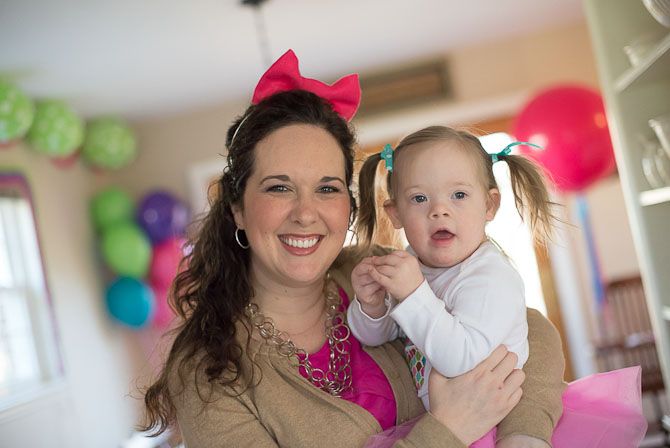
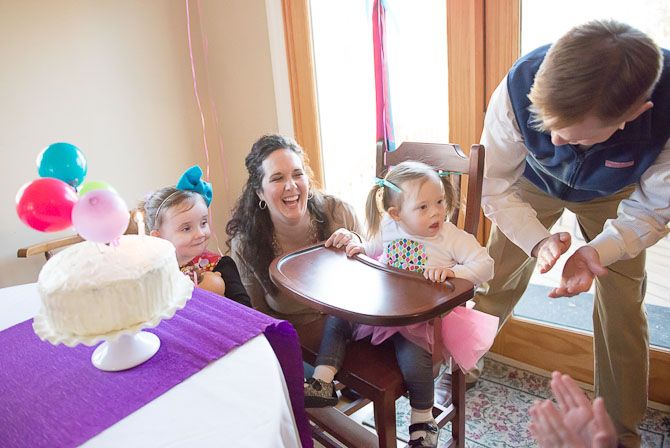
Modern and Bright Balloon Party


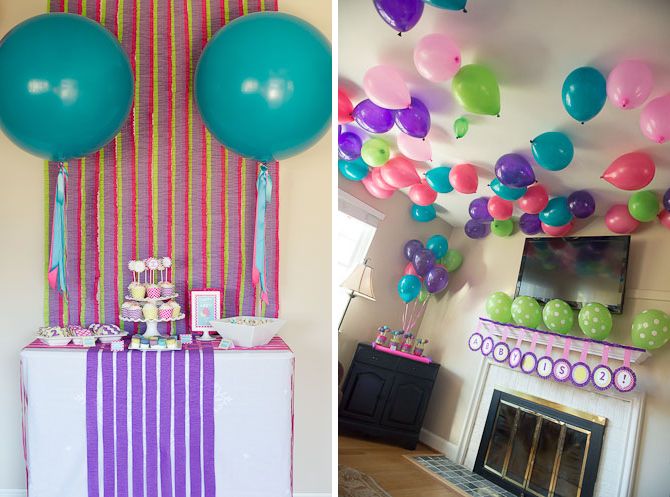
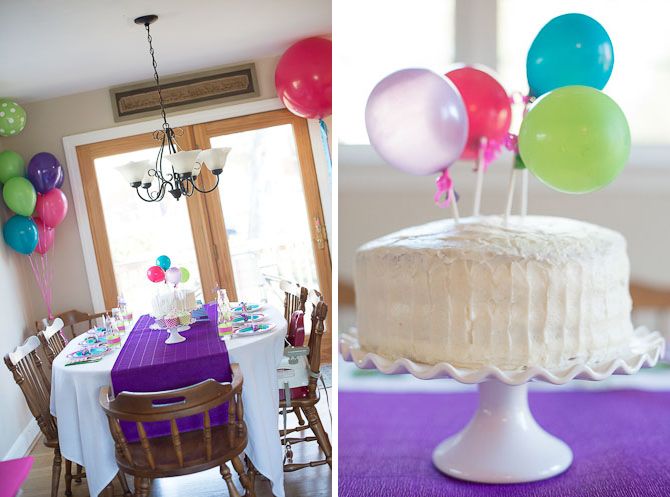
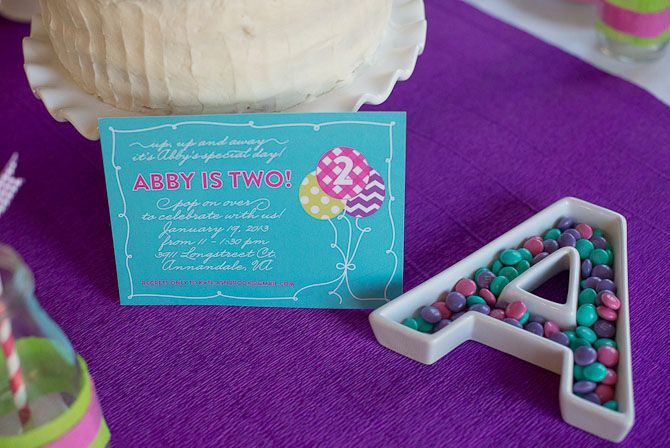
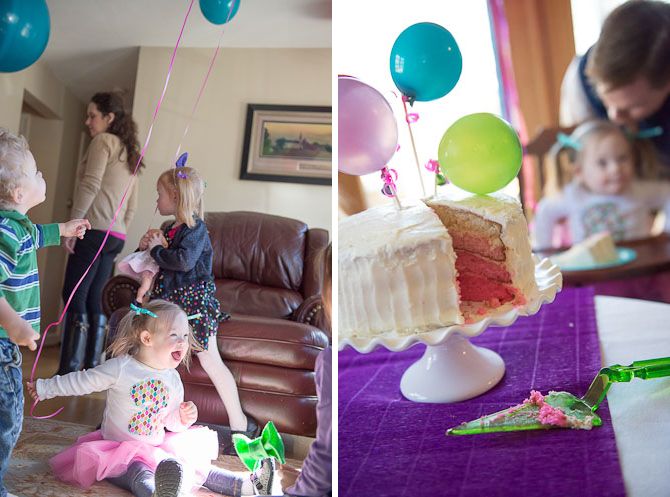
When we think of traditional birthday parties--balloons and crepe paper are the first thing that comes to mind. Our goal was to take traditional birthday party elements and use them in a fun and modern way! This party was for a very special girl turning TWO! When planning the party, I wanted the house to be filled with something she'd recognize and love--and what little kid doesn't love balloons? (Until they pop, of course!)
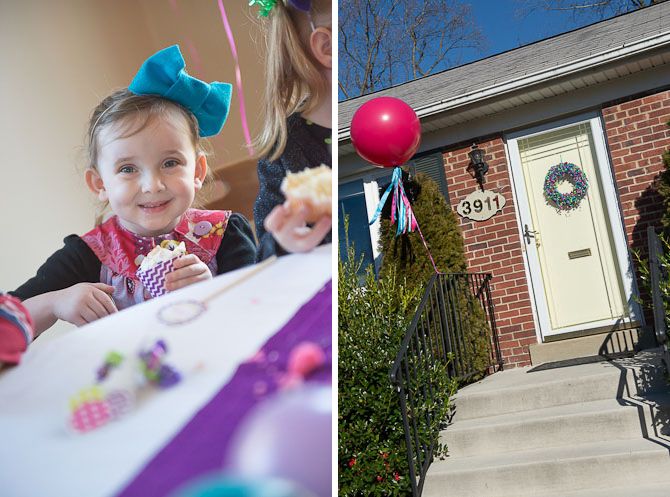
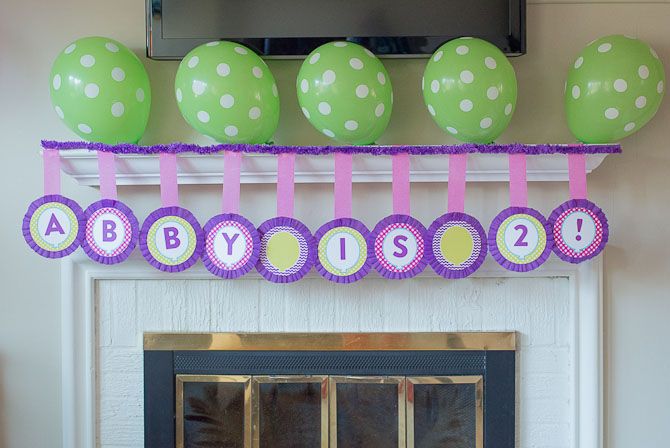

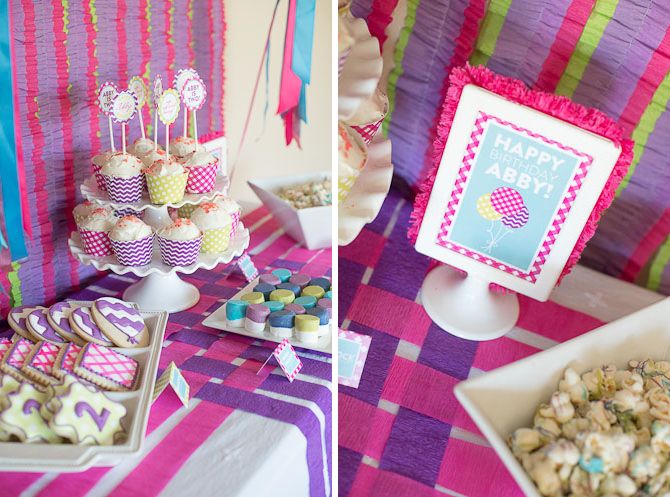
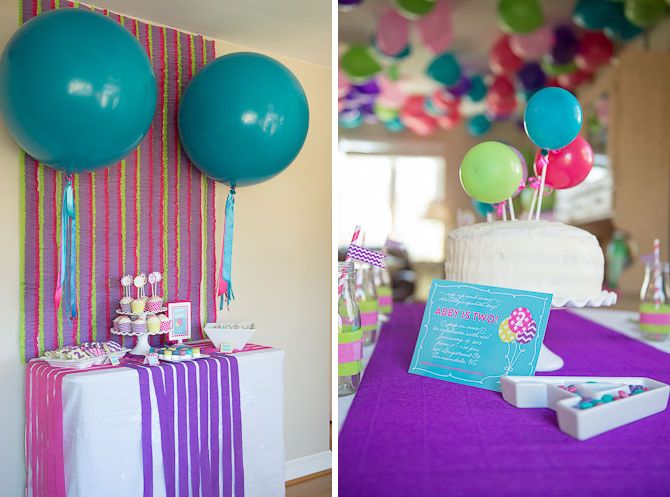
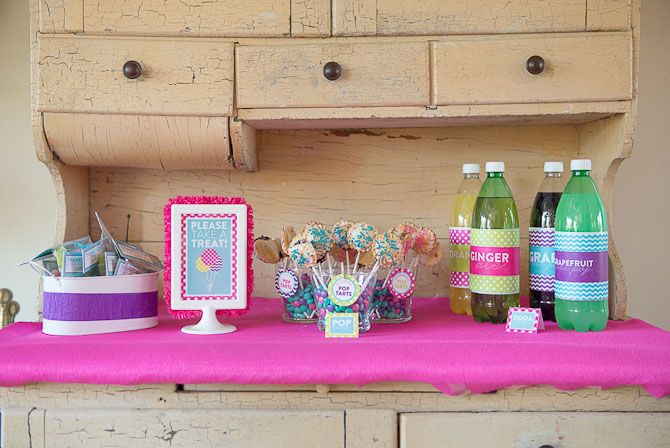
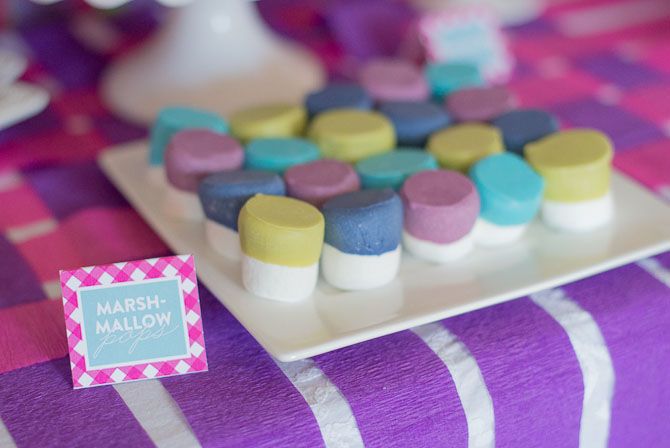
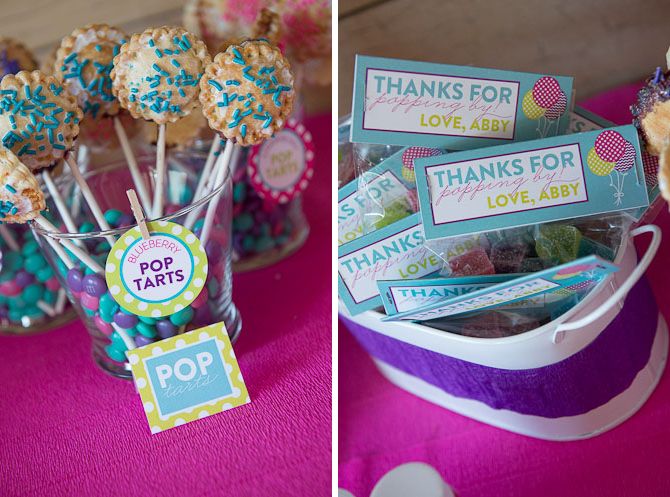
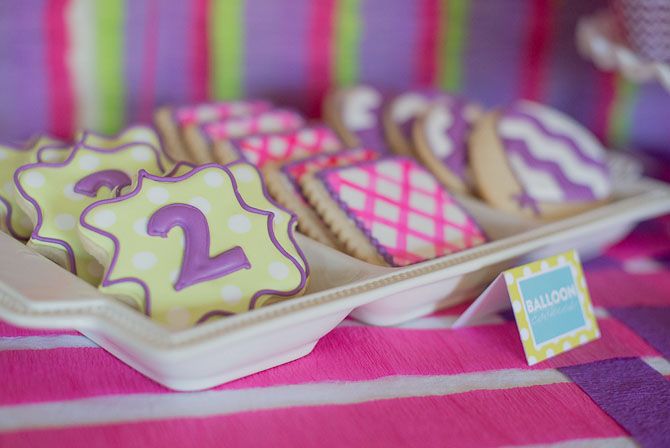
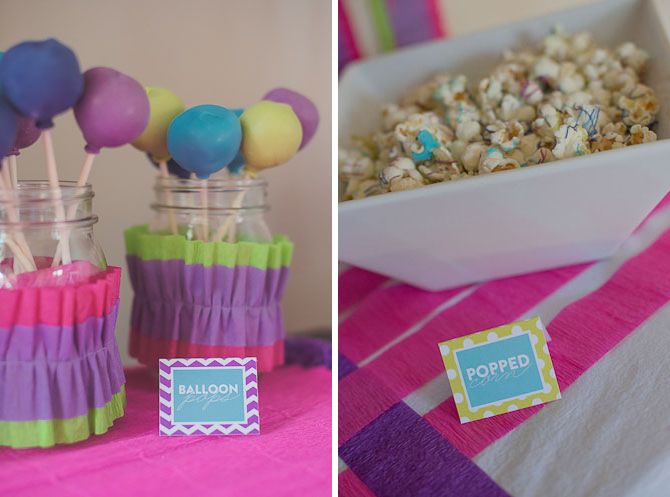
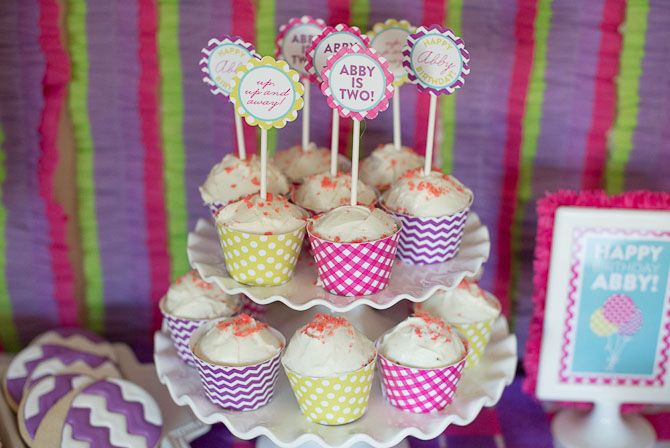

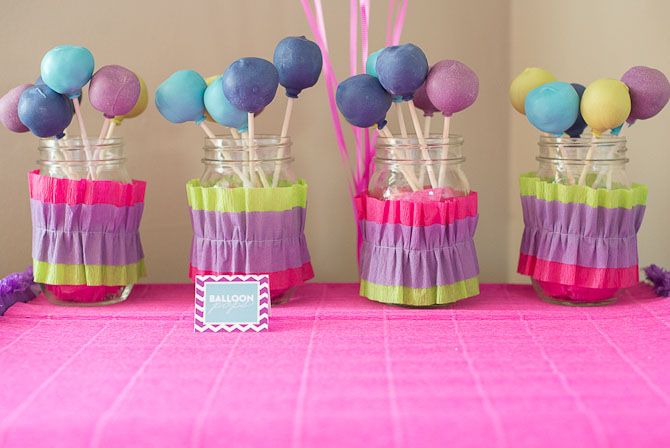
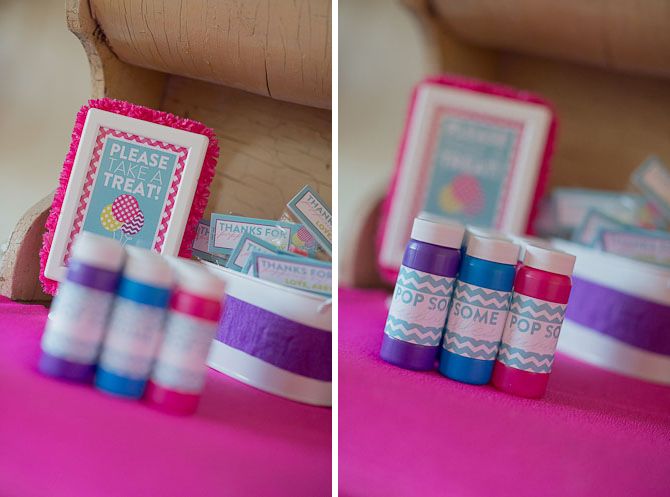
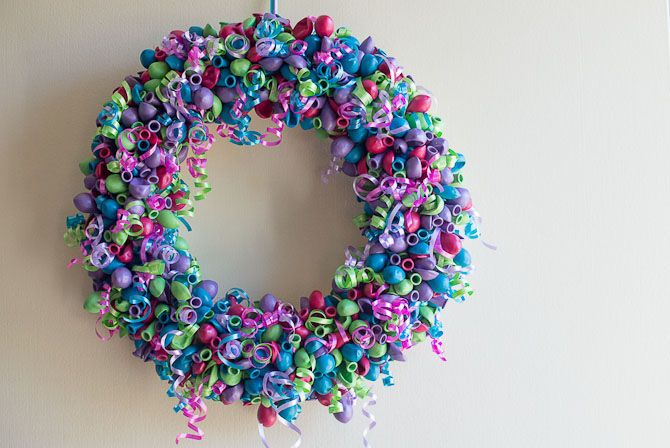
There was no shortage of balloons at the party--we loved the big balloons on either side of our dessert table and filled the ceiling with as many as we could! The balloon wreath was a great way to welcome guests to the party and set the tone for the event. And the crepe fringe was a fun way to string our polka dot balloons around the room!


SHARE »